Stewart Eastep is a Great Circle Documentarian for Burning Man, and was the 2017-2020 Documentarian for Denver, Colorado fire group, Hot CoCo.
Tips for filming Fire Conclave Auditions
As documentarian I collaborated with the choreography leads and the shin to help capture the best possible performance audition. It is both a creative and technical role, and is truly a leadership role. There’s a bunch you can do to help the group submit an audition video that is useful for evaluation by the Fire Conclave Council.
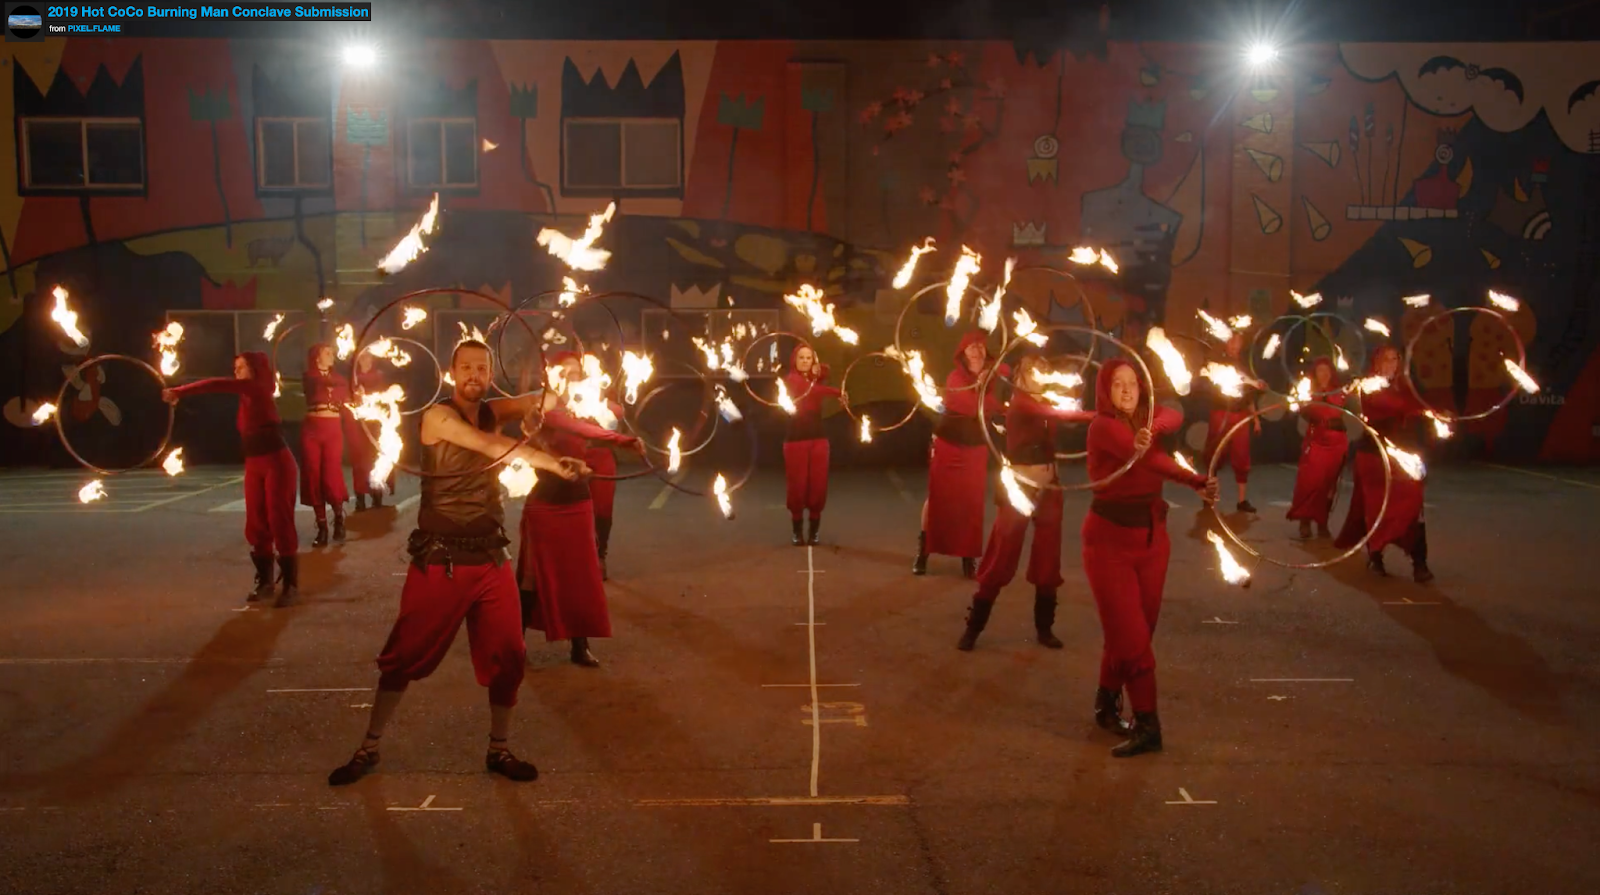
I’m screen-grabbing some shots from 2019 with Hot CoCo to use as examples. Let’s see how the framing and placement evolved as I discuss lighting, settings, etc. The first act I’m going to talk about was a goddess & fan combo act that overlapped each other.
The Mayday film can be viewed here (2:05 is the start of the act).
I’m using a pretty wide zoom lens. It’s both good and bad. I can get everybody in frame, but there are also a lot of distractions in the background. Fortunately we weren’t filming the audition at this location. We did one year, and I hated it—sorry Caitlin. I like to shoot in 4k and downres to HD1080 to give a nice clear image, sort of. Here I had a new focal reducer/adapter which needed an internal adjustment (was creating some softness in corners of the image). In fact my whole camera kit was new this year, and I had some stuff to figure out.
TIP #1 Film early, film often
2019 Hot CoCo Mayday Review
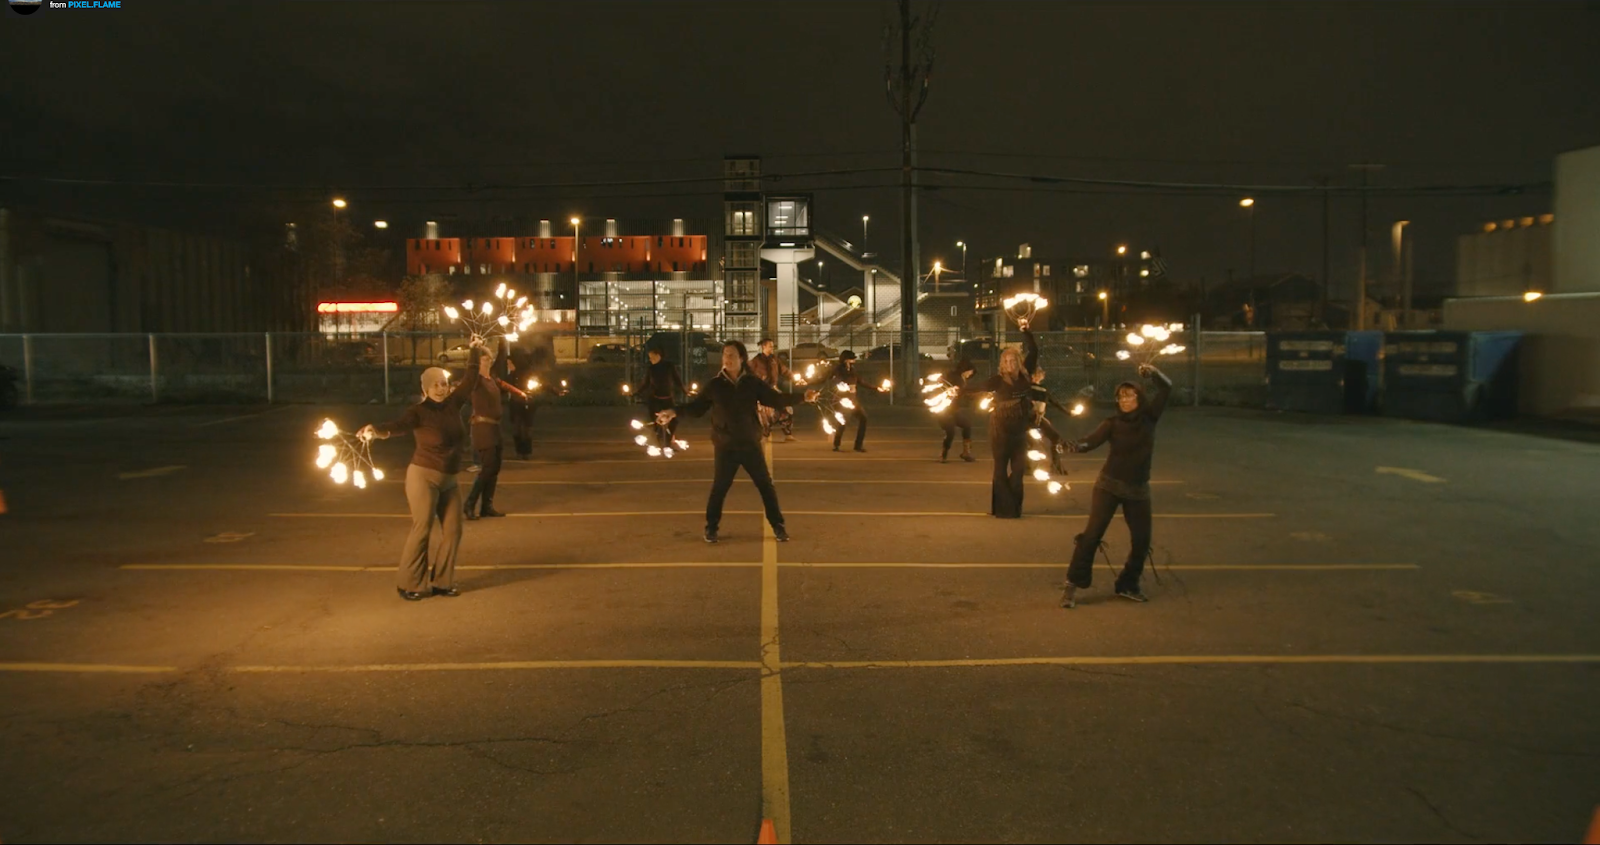
When the choreography is coming together and lit run-throughs are happening, you’re going to want to film these early practices. This will enable the shins/leads to review what’s working, how to transition from one act to another, and identify acts that need a tweak. Meanwhile you’ll see what is an ideal focal length, what exposure settings look good, and whether the camera you’re using is up to the task. The following weeks, we’ll film at the location shown below. The incidental backlighting helps to give dimension to the performers. I’ve lit performers from the front before with work lights. It sometimes becomes too much when adding fire and overexposes the performer, especially if they’re wearing white or are light-skinned humans. Rear lights separate the performers from the background and 80% of the time a fire performer has their props right in front of them. I do like fire bowls as markers and supplemental lighting. You can use fill light from the front, just back them up a little or try to diffuse them. Side lighting can also work.
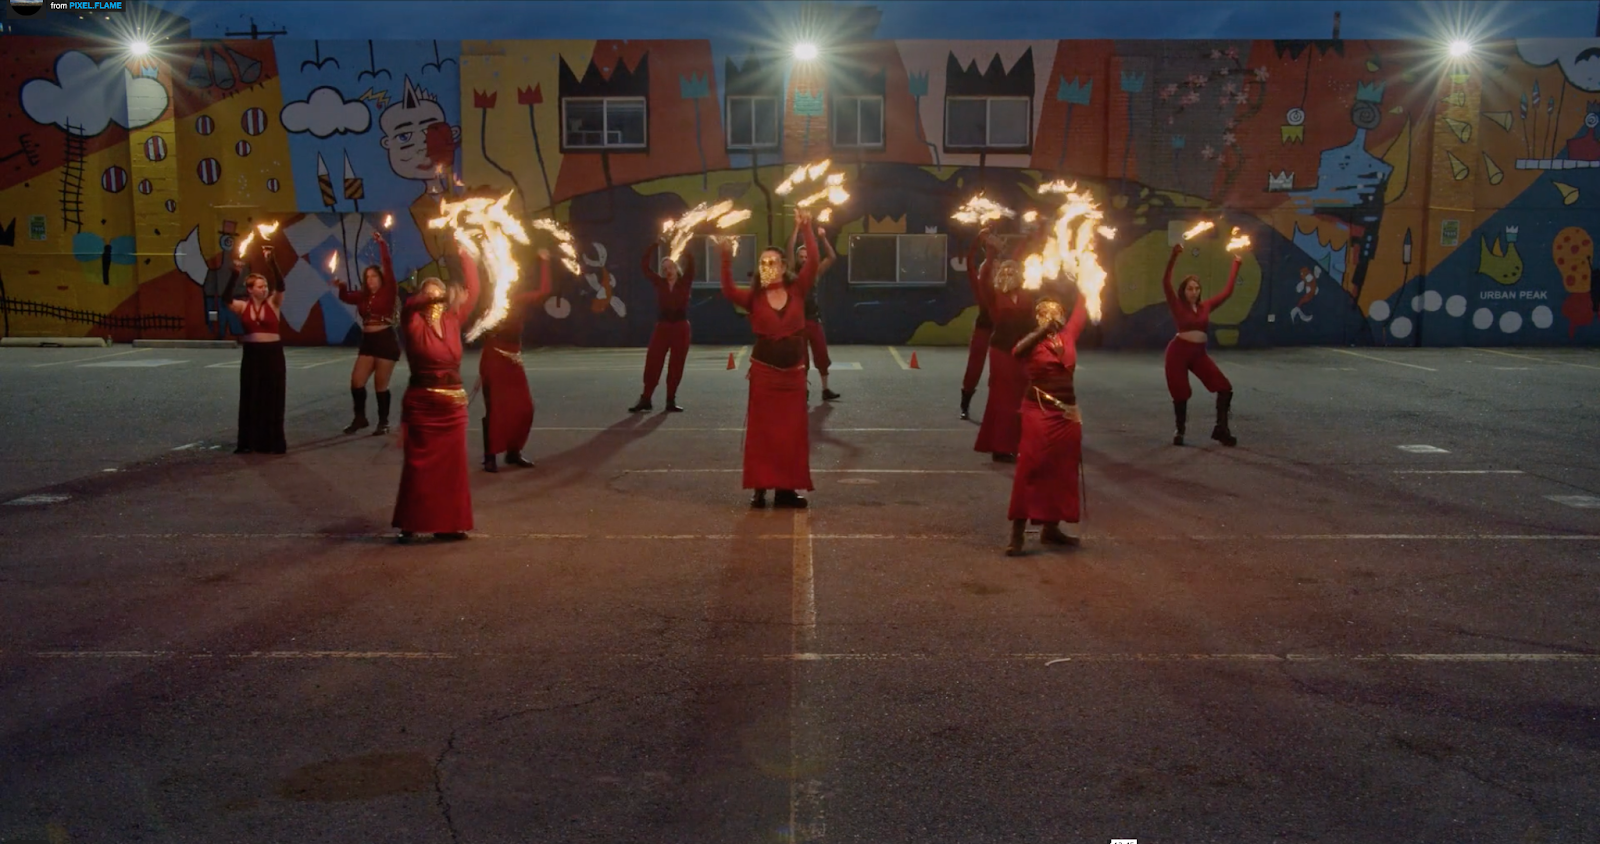
2019 Hot CoCo Dress Rehearsal (1 week before audition).
(Above) I am using the same lens & focal length. The goddess act is closer now. They were getting lost in the background, and I talked to their lead about having them move forward to wrap around the fan act. Next week will look even better when the fire headdresses are in.
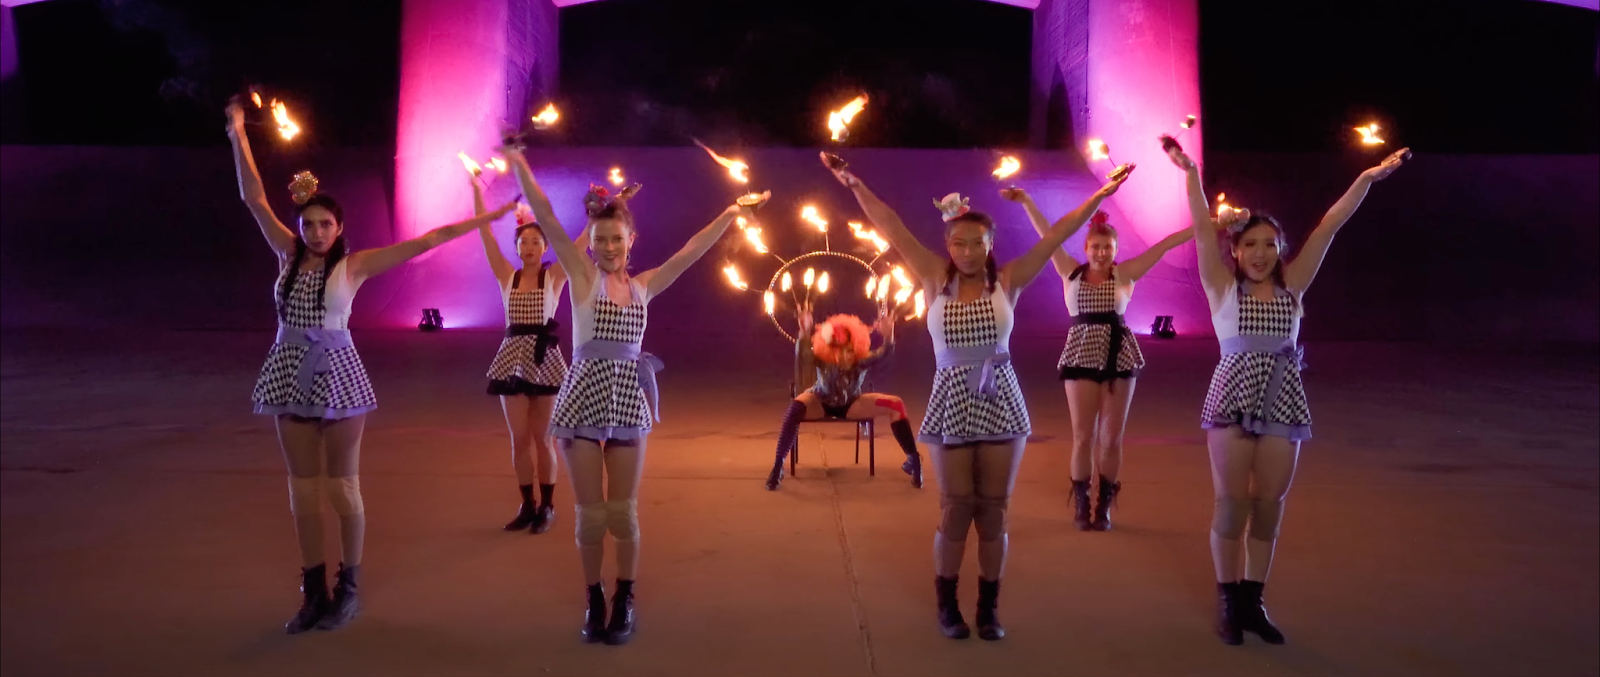
If you have full control over lighting you can do what the Firemingos have done (below). Bounce the backlighting into the set, add soft fill lights up front (overhead) & side lit. Perfection (with a budget).
You can use a compressed codec to film practices but it’s a good idea to test your audition settings out prior to the final audition (like a dress rehearsal) . If you’re planning to color grade, shoot in the highest possible bit depth for your camera using a flat/raw/log profile. Most pro-ish cameras and even phones are capable of giving you a flat profile you can adjust in your editor. Just make sure you’re not pushing your camera’s ISO levels too far as noise can ruin your shots. ISO 3200 is usually the highest I’d ever use. Again, depending on the camera. This will allow you to stop down the lens and have more depth in focus.
Turn off autofocus. Turn off autofocus. When setting manual focus, start at the front marks and let focus fade out towards the back. Make sure your front line is sharp. Use focus peaking if you have it…see below.
TIP #2 Use a monitor
An external monitor is a really, really good idea. 7”inch is ideal and 5” is ok too. There are really nice, cheap options you can buy, or you can always rent or borrow one. Even if you just get it for the final audition filming, it’s something I highly recommend, but give yourself a trial run, if possible. These monitors will give you some great exposure tools along with focus peaking. Even if your camera has some of these tools, I wouldn’t trust the on-cam back screen or viewfinder.
Exposure tools are your friends. Histogram, waveform, zebras, false color. Zebras are my favorite for fire. Set the limit to 95 or 100 and you’ll know what’s getting blown out. It’s ok if there’s a little zebras in the fire, but not on the performers.
A quick primer on exposure tools (starts at zebras):
It’s filming day! A few walk through practices without fire in the hours before sunset is essential. There should be ample time for this extra effort and to put down marks.
TIP #3 Take time to put down marks
Every camera’s field of view is triangular. Adjustments (marks!) can be made for the recorded audition and shifted again for playa where the shape of the performance space is a good bit wider up front.
2019 HOT CoCo Fire Conclave Audition
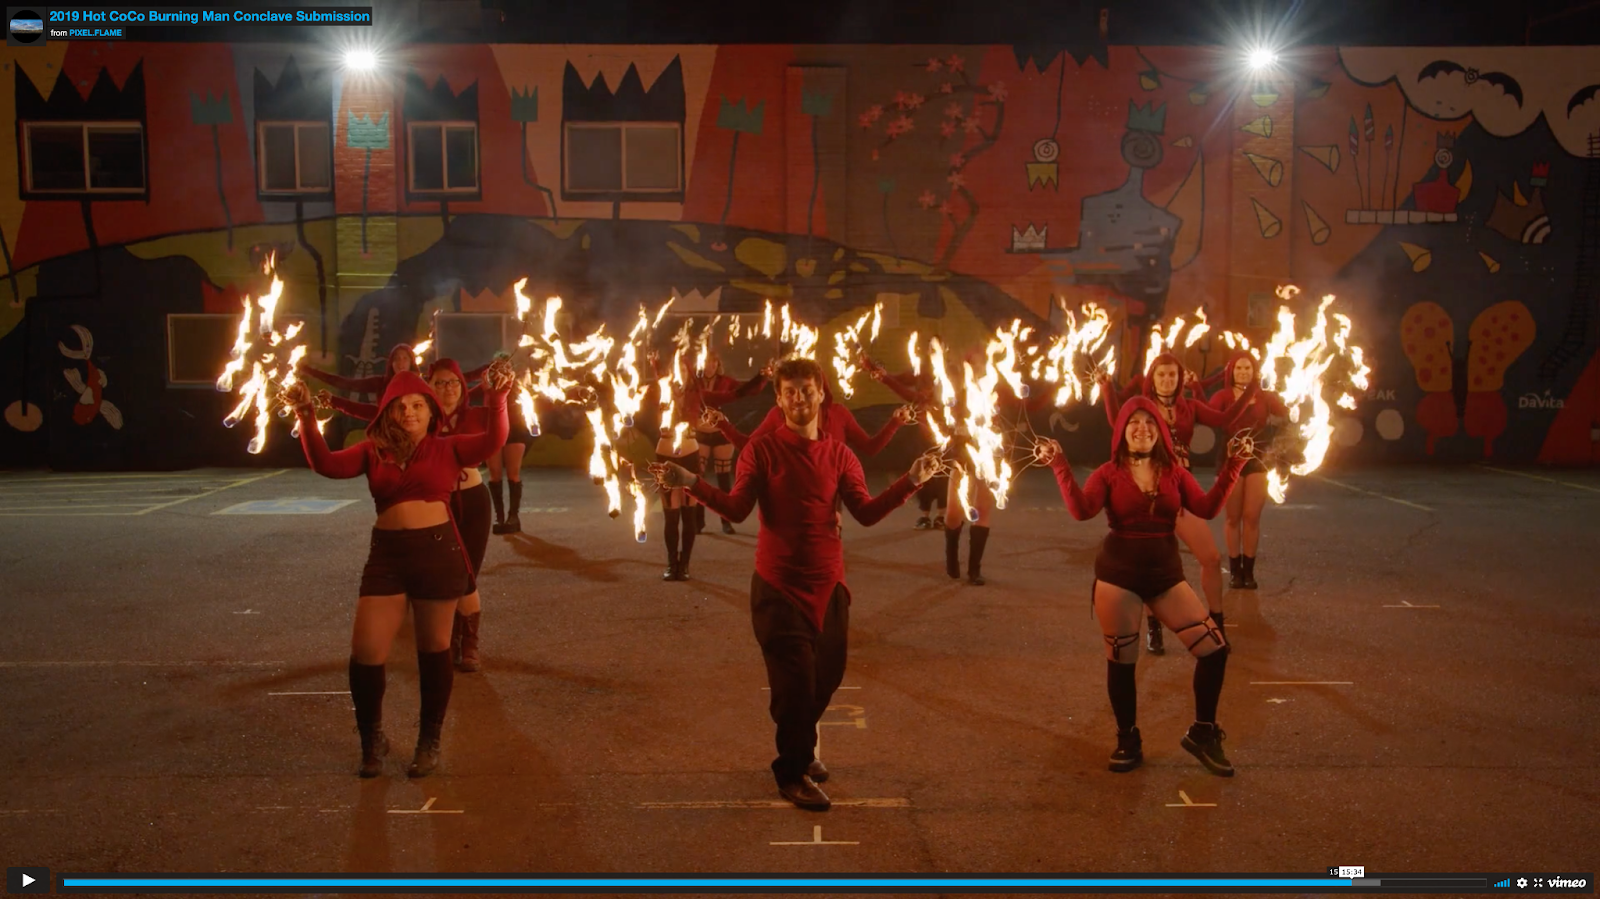
TIP #4 Shoot wide, but not too wide
The comparison photos (below) are of the same acts, filmed a week apart—what looks different in the 1st & 2nd shots? The back wall seems closer, and the acts look closer to each other. Same distance as before, different focal length. We had to shift our entire set because a random truck was parked in the lot. With the tightened space for the performance I had to zoom in on my lens and this was the (excellent) result.
Shot @ 35mm
Shot @ 18mm
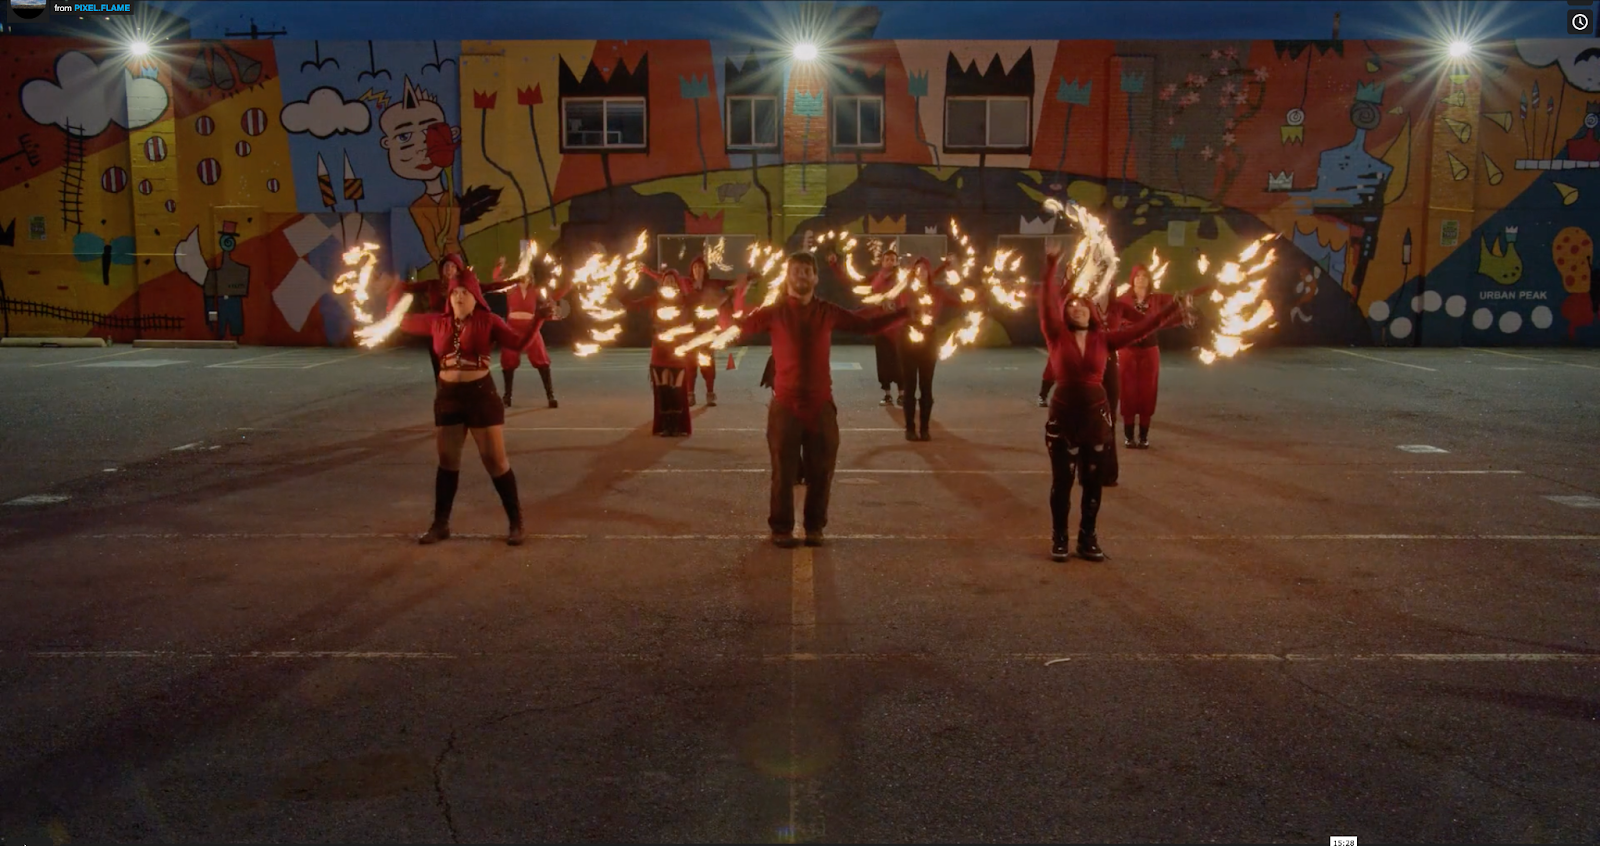
A slightly longer focal length brings the back row closer to the front. Bottom shot is the same moment on the wide end of my zoom lens. My camera is the same distance from the wall. Look at how you can see the front row performers in image #1.
Filmed on a Blackmagic Pocket 4k (micro 4/3 sensor), with a 0.71 focal reducer (yielding APS-C/Super35 field of view), through a Sigma 18-35mm 1.8 lens (stopped down to at least f4).
TIP #5 Set your tripod to eye level (or just above)
You’ll want a reasonably tall, sturdy tripod. Keep your camera steady, weighted, if necessary, & keep others from being in this area. My tripod head stands around 7’ and is tilted down ever so slightly.
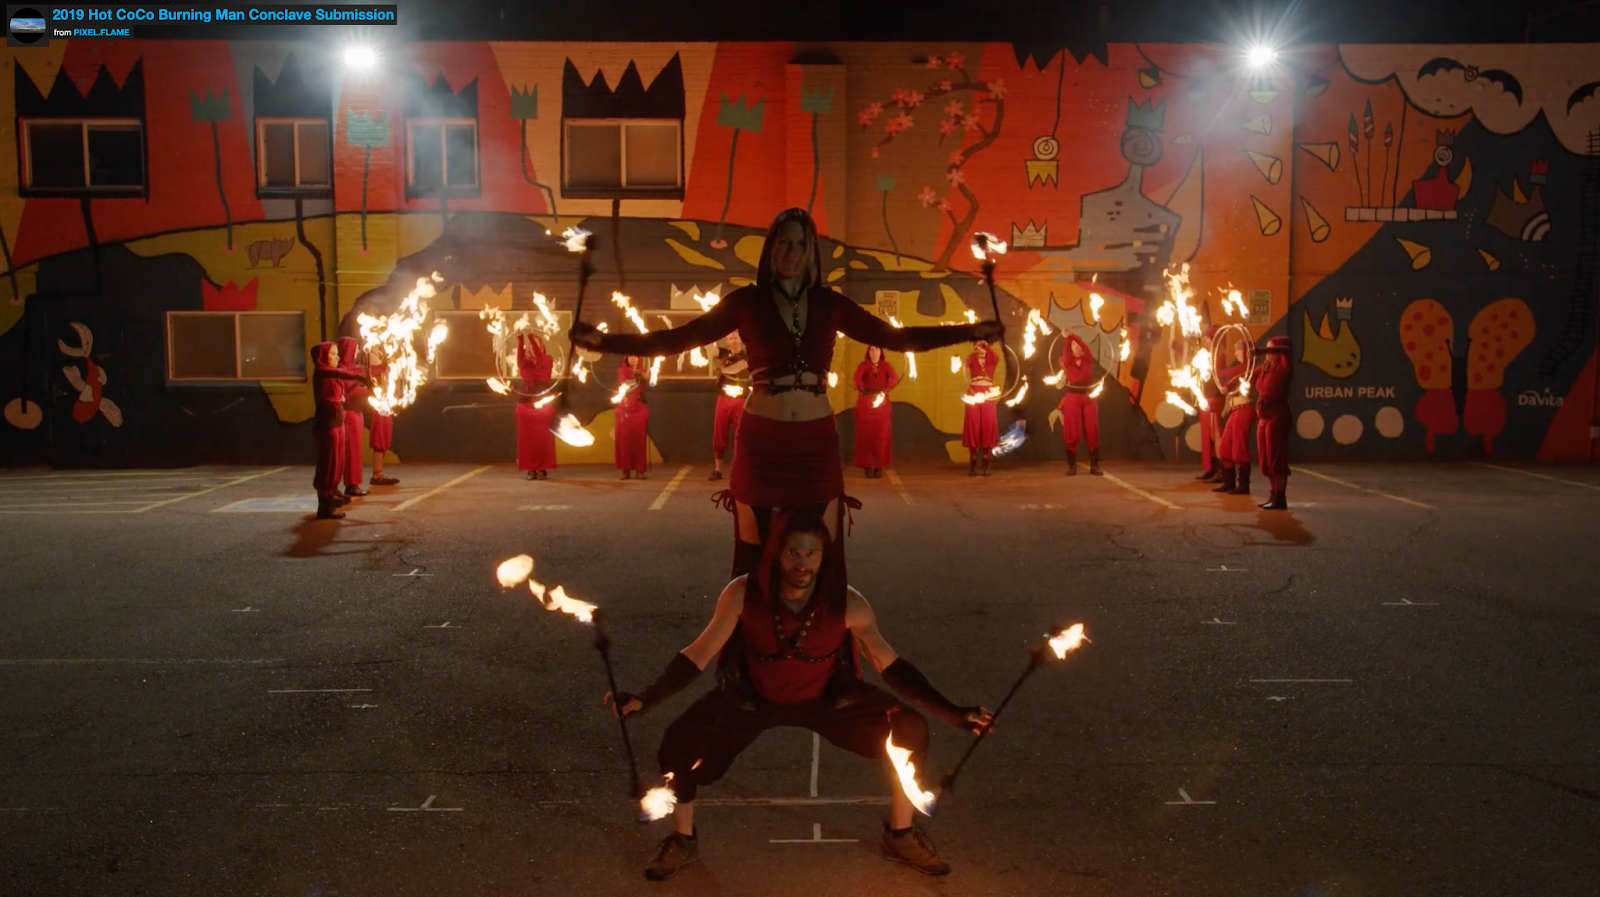
Speaking of framing, there’s room in the frame for all the action. The duet is close, slightly overstepping marks, with a bit of room still in the frame. I asked the hoop act to light a little earlier. It sped up the transition and created a fiery backdrop at the end of the duet. I also asked them to be set in place prior to the duet. It kept their walk-on from being a visual distraction to those evaluating this audition. On playa this is pretty irrelevant (except for the fiery part), but for the video, the optics are important.
Here’s the full 2019 Hot CoCo audition video. It was a good year all around.
TIP #6 OK OK OK, You’re filming on a phone
…and why you shouldn’t film on a phone.
I do tell people all the time who ask me about cameras that the latest phones are pretty incredible out of the box, but manual control is a big part of getting amazing results. Storage is another obstacle. You’re (presumably) filming consecutive performances at a given time and phones tend to have a lot on them already. Again, unless it’s straight out of the box.
My advice is to use the absolute newest phone available with LOTS of available data storage AND to download Filmic Pro. The app will give you more manual controls like exposure settings discussed above. Then watch your highlights using zebras. You’re going to need to test shoot fire with it. A phone camera sensor is great for colorful flat looking images in soft light, but high contrast shooting (ahem, fire at night) is always going to be tricky.
Below is an example of some impressive results with a phone in low light, but notice how quickly the highlights blow out. That is your supernemesis.
But you’re going for it anyway…? Sheesh. Full filmic pro tutorial here:
https://www.youtube.com/watch?v=BePzznJ23Kk Good luck! Then see tip #1.
FYI— My Blackmagic 4K camera body cost about the same as a new phone. It’s incredible in low light, shoots raw, and has one of the most user-friendly operating menus you’ve ever seen. You can use many different lenses on it with the appropriate adapters. One can watch YouTube tutorials on how to use it for days (I’m not even going to look one up for you). And lastly, rentals are quite inexpensive. DM me if you’re at all on the fence.
Technical cheat sheet for your camera settings
- Record in highest bit depth for best image quality (flat/log/raw film profile)
This is a camera specific setting so research your camera.
- ISO 3200 or less & lens at f4 or greater (balance your exposure & depth of field)
- Set shutter speed at 180° or double the frame rate. 360° can be used but will have more motion blur in movement. 360° is a trade off for more light if you need it.
Example: @ 24fps // 180° = 1/50th shutter speed, 360° = 1/25th shutter speed,
(Also I like 24fps vs 30 but some cameras may not have 24.)
- Zebras set to 100 and watch the highlights on performers (if your image is too bright, adjust ISO down or lens aperture to be greater)
- Turn off autofocus / set focus manually (ideally using focus peaking on a monitor)
- Don’t film your very important audition on a phone—& if you must, get the newest one around